
09
2026
-
01
Techniques for bundling plastic cable ties by hand
Author:
Hand-Tying Plastic Cable Ties Like a Pro: Essential Techniques
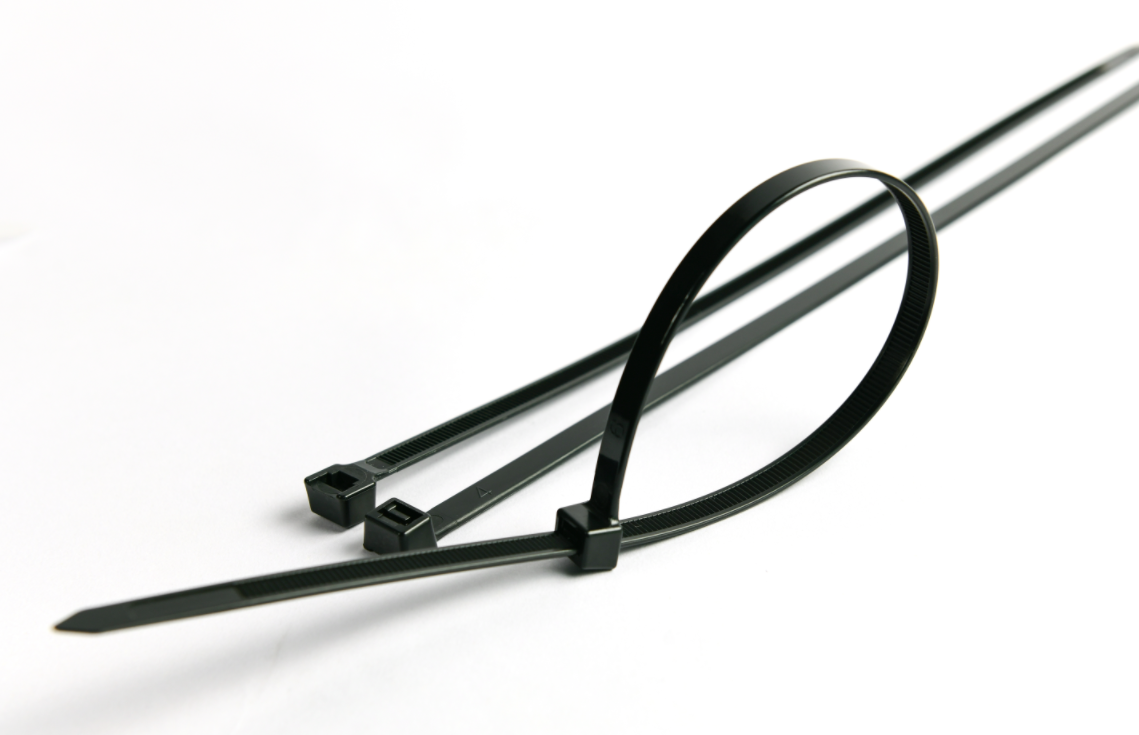
Plastic cable ties, though designed for quick fastening with tools, can often be secured manually in situations where a tool isn’t available or when a looser, adjustable hold is needed. Mastering hand-tying techniques allows for flexibility in applications ranging from temporary bundling to creative crafting. Below are step-by-step methods to tie plastic zip ties effectively without specialized equipment.
Selecting the Right Cable Tie for Manual Tying
Not all cable ties are equally suited for hand-tying. Thinner, more flexible ties (typically under 3mm wide) are easier to manipulate, while thicker, rigid ties may resist bending and require more force.
Choosing Flexible Ties
Opt for nylon ties labeled as "light-duty" or "general-purpose." These are thinner and more pliable, making them easier to loop and tighten by hand. Avoid "heavy-duty" or "weather-resistant" ties, as their stiffer material can be difficult to bend without cracking.
Checking the Length
Ensure the tie is long enough to wrap around your items with at least 4-6 inches of excess tail. This extra length provides leverage for tightening and adjusting the tie. If the tie is too short, it may not secure properly or could snap under tension.
Pro Tip: For practice, start with ties that are 8-10 inches long. This gives you ample room to experiment with different tightening methods.
Creating a Basic Loop and Lock Without Tools
The simplest way to hand-tie a cable tie involves forming a loop and using the tie’s ratcheted teeth to lock it in place. This method works best for light bundling tasks.
Forming the Initial Loop
- Hold the Tie Horizontally: Grasp the tie near its head (the end with the locking mechanism) in your non-dominant hand. Let the tail hang freely.
- Wrap the Tail Around Objects: Bring the tail end around the items you’re securing, crossing it over the head end to form a loose loop. Ensure the items are positioned where you want them before proceeding.
- Thread the Tail Through the Head: Insert the tail into the slot in the tie’s head from the side opposite the ratcheted teeth. The tail should slide easily through the head if the loop is loose enough.
Tightening the Loop
- Pull the Tail Gently: Use your dominant hand to grip the tail and pull it slowly away from the head. As you pull, the ratcheted teeth will engage, preventing the loop from loosening.
- Adjust the Tension: Continue pulling until the tie feels snug but not overly tight. You should be able to slide your fingers between the tie and the secured items without excessive force.
- Trim the Excess Tail: If the tail is too long, use scissors or a sharp knife to cut it flush with the head. For a cleaner finish, angle the cut slightly downward to avoid sharp edges.
Application Example: This method is ideal for bundling a small stack of papers, securing a roll of fabric, or temporarily holding together craft materials.
Achieving a Tighter Hold with the Double-Wrap Technique
For applications requiring more security, such as fastening hoses or organizing thick cables, a double-wrap technique can provide additional strength without tools.
Wrapping the Tie Twice
- Form the First Loop: Follow the basic looping method above to create an initial loop around your items. Do not tighten it yet.
- Add a Second Loop: Instead of pulling the tail through the head immediately, wrap the tail around the items a second time, overlapping the first loop by about half its width.
- Thread the Tail Through the Head: After completing the second wrap, insert the tail into the head’s slot as before. The double layer of nylon will resist stretching, creating a tighter hold.
Tightening and Securing
- Pull Evenly: As you tighten the tie, ensure both loops are pulled simultaneously to distribute tension evenly. This prevents one loop from becoming looser than the other.
- Check for Gaps: After tightening, inspect the tie for gaps between the loops and the secured items. If gaps exist, loosen the tie slightly and reposition the loops for better contact.
- Trim and Finish: Cut the excess tail as needed, leaving a small stub to avoid sharp edges. For added security, tuck the stub under one of the loops.
Safety Note: Double-wrapped ties can be difficult to remove without cutting, so use this method only for permanent or semi-permanent fastenings.
Hand-Tying Cable Ties for Adjustable or Reusable Bundles
In some cases, you may want a tie that can be loosened or reused without cutting. This requires a modified approach that avoids engaging the ratcheted teeth fully.
Creating a Slipknot-Like Loop
- Form a Loose Loop: Wrap the tie around your items as usual, but leave the tail inserted only partially into the head’s slot. Do not pull it tight yet.
- Leave a Gap: Ensure there’s a small gap (about 1-2mm) between the tail and the ratcheted teeth. This gap allows the tail to slide back and forth when pressure is applied.
- Test the Adjustability: Gently pull the tail to tighten the loop, then push it back toward the head to loosen it. The tie should move freely within the gap without disengaging completely.
Securing the Adjustable Tie
- Add a Temporary Lock: To prevent the tie from loosening accidentally, wrap a small piece of tape or a rubber band around the head and tail near the gap. This holds the tie in place while still allowing adjustment.
- Use for Temporary Fastenings: This method is perfect for securing items during transport or organization tasks where you may need to rearrange things later. Simply remove the tape or rubber band and slide the tail to loosen the tie.
Application Example: Use adjustable hand-tied ties to bundle Christmas lights before storage, secure a temporary tarp over outdoor equipment, or hold together a stack of moving boxes that may need to be repacked.
By mastering these hand-tying techniques, you can use plastic cable ties effectively in a variety of situations without relying on specialized tools. Whether you need a quick, loose hold or a tight, secure fastening, these methods provide flexibility and control for any project.
plastic cable ties
Previous Page
Hot News
2026-09-15
Ultimate Guide to Nylon Cable Ties: Sizes, Applications, and Selection Criteria
Explore the ultimate guide to nylon cable ties. Learn about PA66 material properties, comprehensive size & tensile strength charts, and outdoor UV applications.
2026-08-28
PA6 vs PA66 for Nylon Cable Ties: How to Choose the Right Material
PA6 and PA66 are two commonly considered materials for nylon cable ties. This guide compares their mechanical performance, heat resistance, toughness, moisture absorption, processing characteristics, cost, and application suitability to help buyers select the right material for their requirements.
2026-04-10
No More Brittleness: All-Weather Performance Ties for Extreme Environments
Tired of cable ties snapping in cold or dry weather? Our impact-modified PA66 ties are engineered for all-weather performance, ensuring maximum flexibility and reliability from Australia to Northern Europe。
2026-01-19
Electric Cable Tie Gun Operating Instructions
An electric cable tie gun is a handy tool that simplifies the process of securing cable ties, making it faster and more efficient compared to manual methods. Whether you're working on electrical installations, organizing cables in a data center, or bundling items for shipping, understanding how to properly use an electric cable tie gun is essential. Here's a detailed guide to help you get started.
2026-01-18
The precise tension control method for cable guns
When working with cable tie guns, achieving the right tension is crucial for ensuring secure and professional-looking installations. Whether you're bundling cables, securing equipment, or organizing items, precise tension control prevents over-tightening, which can damage delicate components, and under-tightening, which may lead to loosening over time. Here are some effective methods to help you master precise tension control with a cable tie gun.